Ecommerce: Categories
Within the "Categories" section of the Ecommerce module, you will find a Menu Tree on the left-hand side of your screen, displaying all of the different categories of products in your company's online store.
Modifying Existing Categories
Should you wish to view and/or modify the details of a particular category, or see the sub-categories located beneath it, simply double-click on its name.
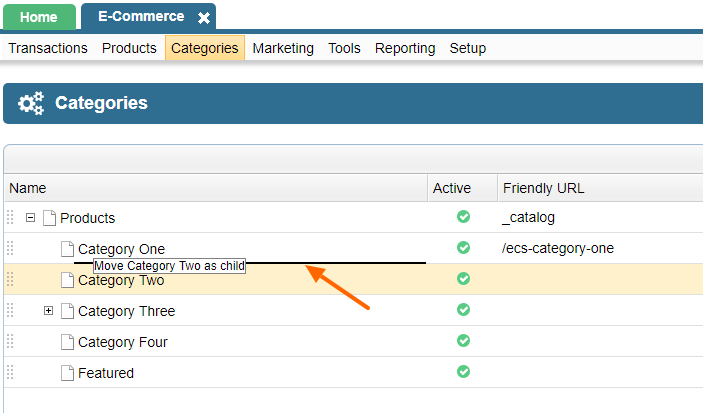
Categories can also be moved within the hierarchy by dragging them. To drag, click on the category once and move it as a child (as a sub-category) or as a sibling (on the same level as the one that shows the black highlighted line when you drag the category). In the example below, category two is being dragged to show as a subcategory of category one.
And, should you wish, you can even completely remove a category with a simple click on the "X" icon at the far right of its row within the tree.

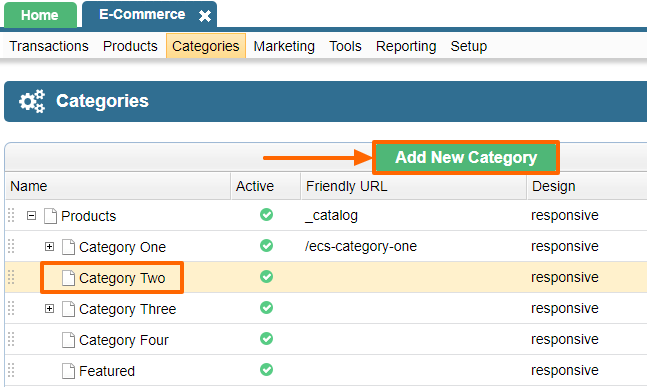
Adding a New Category
To add a new category, first select the category under which you'd like to have the new category appear. Then click the "Add New Category" button.
Give the Category a name and hit Save. Generally, it's best to not make a new category active until you have assigned products to it, so leave the "Active" checkbox unchecked.
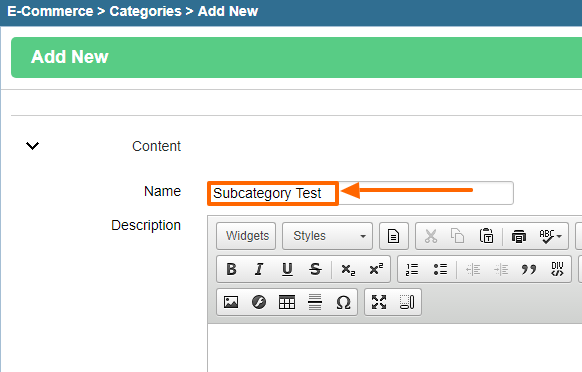
You can give it a friendly url at this stage or add it later if you'd like.
Other settings in this section include:
Site Section - leave this as default; you shouldn't have a need to change this
Design - usually it's the default, but refer to the setup of the other cateogries to make sure you are using the correct option
Sorting - this refers to how the products should be sorted in this category; it can be manual or automatic. By default, it's alphabetical, but you can choose it to be sorted by product Id, price ascending, or price descending instead if you like.
Visiblity Users - refers to the access groups that can see the category; leave it to "Everybody" unless you only want the category to be visible to users belonging to a certain access group, in which case you can choose the access group that can see the category.
Images - this section allows you to upload multiple categories (if the setup on your site has a slideshow option); otherwise, you can upload an image for the category which will show on the category page based on how your website's cateogry template is programmed.

Adding Products to Categories
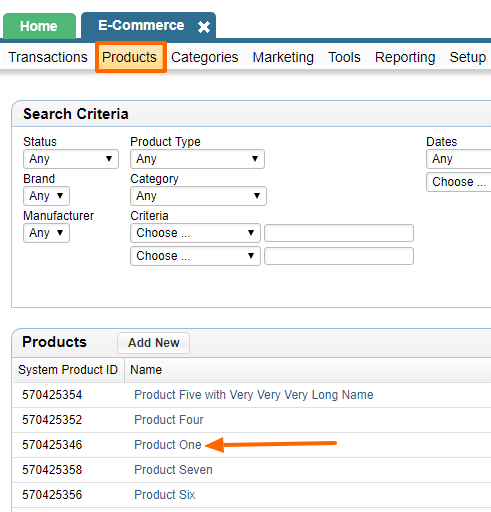
Once you have added the categories you need, the next step is to assign products to them.
In order to do this, go to the Products section and find the product you need to assign to a category. Click on the product name.
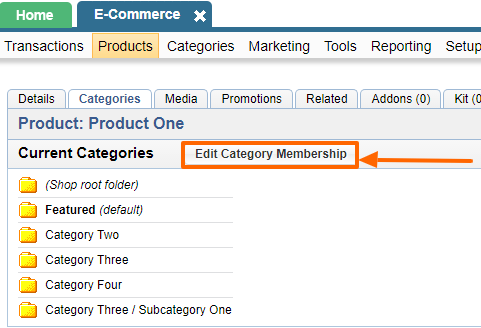
Go to the product's "Categories" tab where you should see all the categories that the product is assigned to, if any.
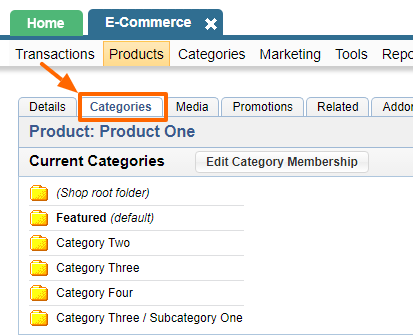
Click the "Edit Category Membership" button:
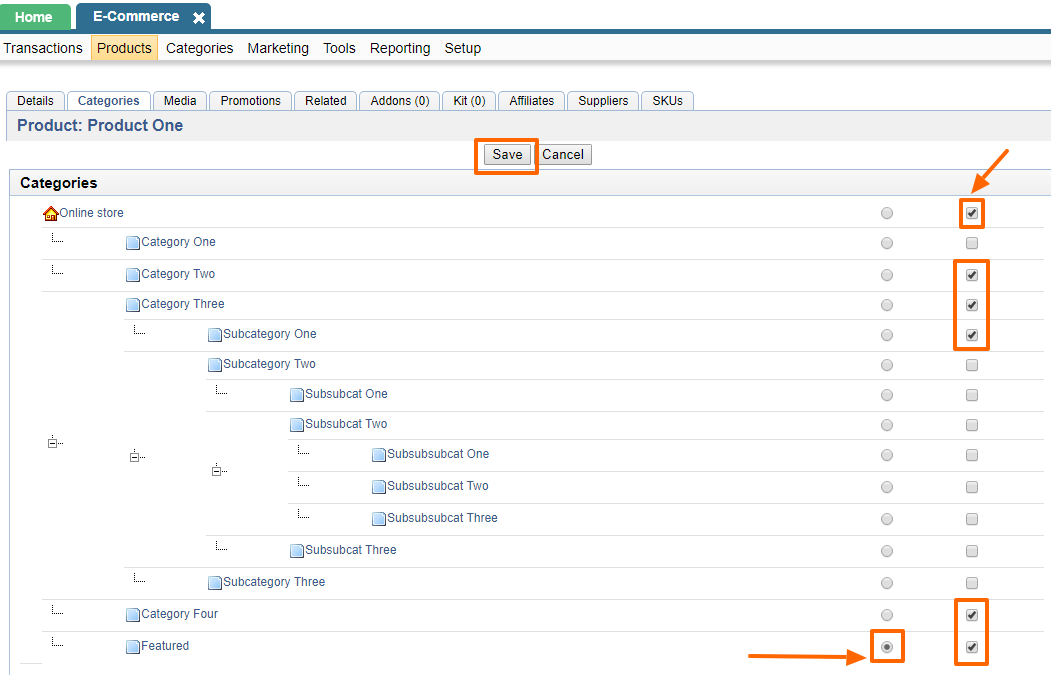
Now you can select the category / categories to assign or unassign the product to. The round radio button refers to the default category that the product should show up as assigned to - this is used in the breadcrumb menu of the product. A product can only belong to one default category. However, it is possible to assign the product to multiple categories by selecting the checkbox option for the category.
Click Save when you're done with your edits.
Please send us suggestions regarding this documentation page
If you would like to recommend improvements to this page, please leave a suggestion for the documentation team.