Editing an Existing Form
A form on your site will generally be placed on a page in the CMS module. If you know the form id, then go to the "Forms" module and find the form there.
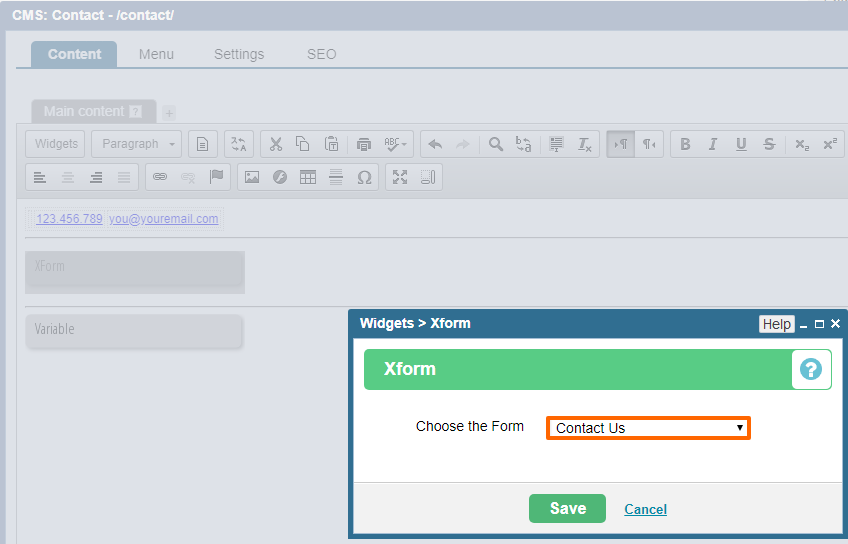
If you do not know which form is placed on the page, then go to the page in the CMS module and right click on the tag. Select "Properties":

You should see the name of the form that is showing on the page:
Edit a Form
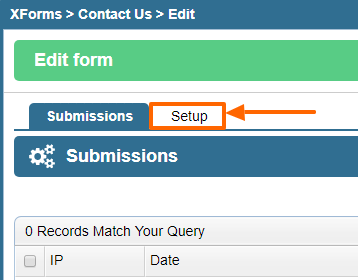
In the Forms module, double-click on the form you wish to edit. It should open up the "Submissions" tab by default. Click on "Setup" to edit the settings.
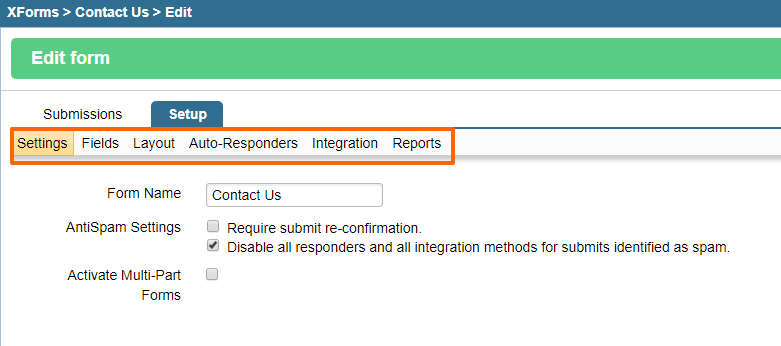
You should see the following options that you can now edit for the given form;
Settings
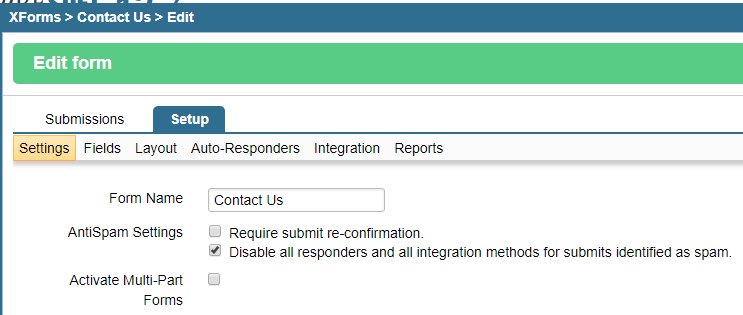
The Settings tab has the name of the form along with the following 2 settings:
Anti Spam Settings - you can try each option based on whether you get a lot of spam on your form or not.
Multi-Part Forms - used when there are multiple forms that may be required for a given form. For instance, if you have a contact form and then a survey form to see if the customer is happy with the response from your sales rep. This is an advanced option and is not commonly used.
Fields
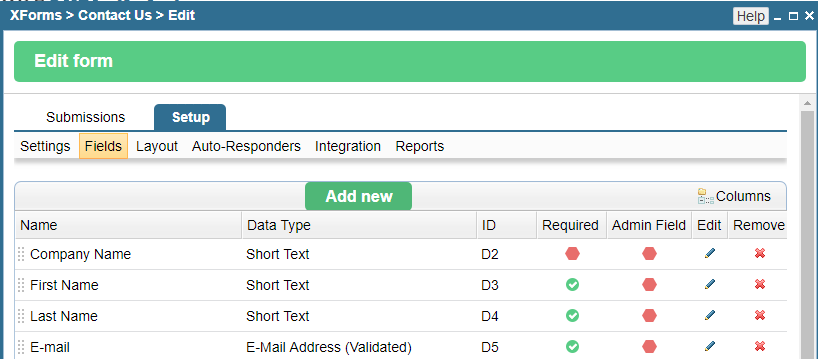
The Fields tab is where all the fields used on your form can be found. Note that there might be fields that are not visible on your site, but that are still being used to collect data. These would generally be the SEO fields like "Keywords", "Full Referring URL", "Referring Site", etc...
Layout
The Layout section opens the form's layout by default. This can be edited in both the WYSIWYG and the Source code editor. To add a field here, it's best to copy/paste an existing field from the form and then just change its name and id via the Source view.
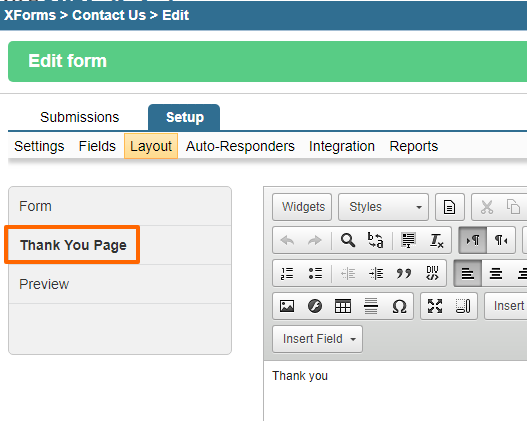
This section also contains the Thank You Page layout, where you can edit the text for the thank you page.
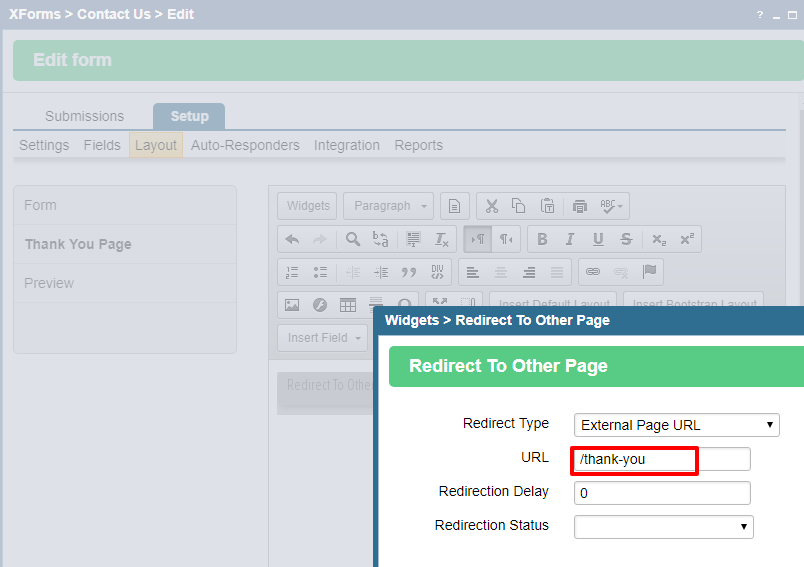
If your thank you page redirects to a different page, you may instead see a tag on the page that redirects the user to a separate page in CMS. In this case, you will need to edit the page in CMS.
Auto-Responders
The auto-responders section is where you should see any automatic emails that may get triggered once a user has submitted the related form.
By default, the section shows all such emails. In the example below, the form has one email to be sent to the company and another to be sent to the user as a notification.

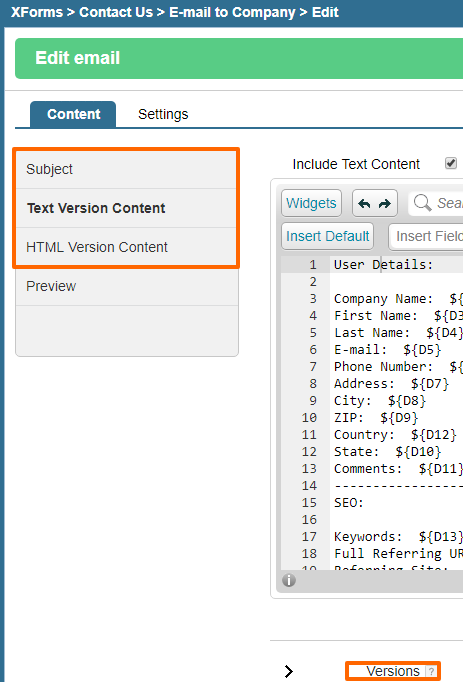
Clicking on the edit icon or double clicking on an item in this listing will show the Content tab wherein the Subject and Content of the email can be changed. Note that the content section also has versions, so if you make a mistake, you can revert to a previous version.
The other tab within the email setup is the Settings tab that defines who should receive the email and when. There are other settings here that should be self explanatory.

Integration
The Integration section of the form's setup is what connects the form to other modules or perhaps resubmits data to other forms. Generally, though, you will find that the only item here is the CRM Integration. This connects the form to the CRM module and makes sure that all user details (like name, email, phone,mailing group, etc..) are simulateneously added to the CRM module.

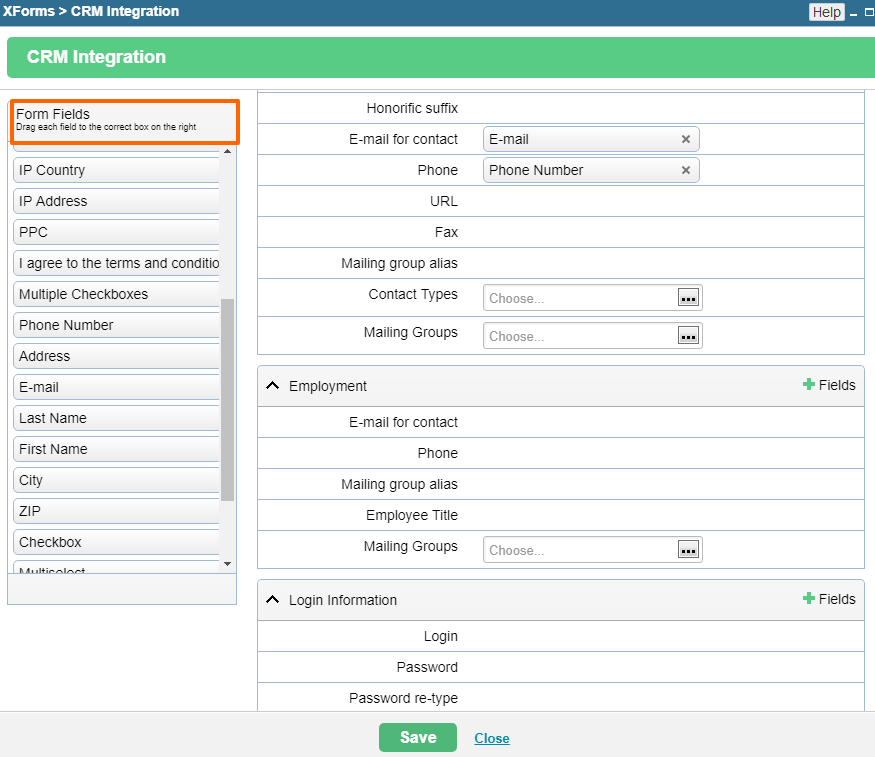
Clicking the edit icon of an item here or double clicking on an item will show the existing connections between the form fields and the available CRM module fields.
You can drag and drop any field from the left to the right or vice versa in order to change where a particular field sends data to in the CRM module. If you make any changes area, it's a good idea to test out the integration by sending a test submission on the website and then checking the CRM module to see that the details have been correctly mapped to in the CRM module. This is also the section you would refer to when assigning login rights automatically after someone fills out a form.
Reports
The reports section is where you can set a daily/weekly/monthly/yearly summary of all the submissions on the given form. This summary can be sent to you as an attachment in an email.

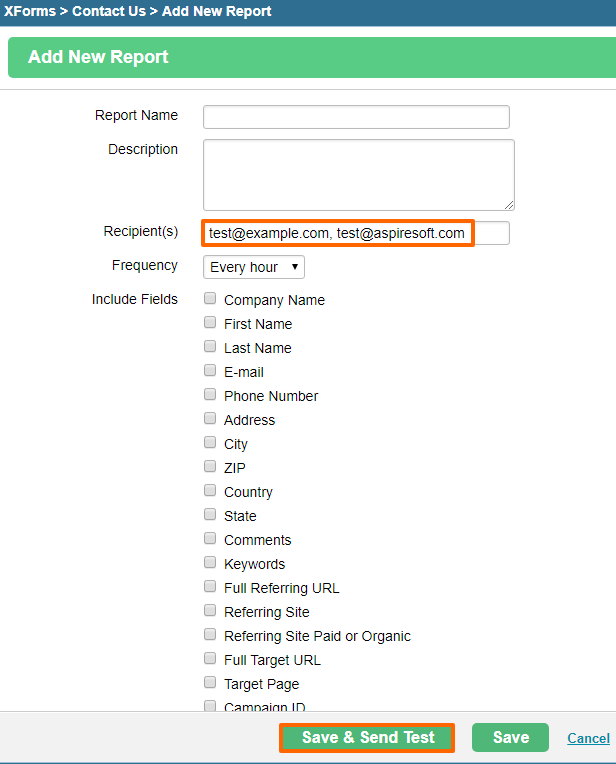
Clicking on the Add New Report will bring up the set up options. The setup should be quite straighforward. Note that you can set multiple email addresses in the recipients field by comma-separating the emails. Also, you can send an immediate test, which will send all of the current data to the email(s) mentioned in the recipients section.
Please send us suggestions regarding this documentation page
If you would like to recommend improvements to this page, please leave a suggestion for the documentation team.
