CMS: Editing Content
CMS Content
When you open the cms module by default you will open the page grid in the Content menu.
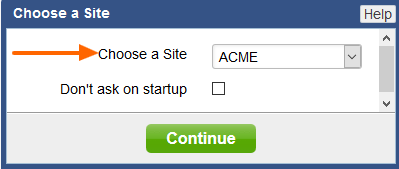
Note: If you have more than one site you may be asked to choose what site you want to manage. The site name will be displayed in the menu as in this examle is says ACME.
To edit the content of a CMS page you must either double click on the page, or click on the Edit icon.

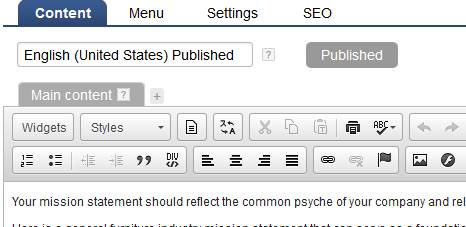
The resulting window will default to the Content tab where you can edit your content
If you have some content / layout that you'd like to copy from one page to several other pages, you may want to make use of micro-templates. See this page to learn how to create one.
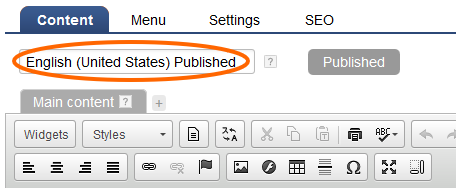
Language Selector
If your site has more than one langauge, you will see the Language selector. Changing this pulldown will determine what languge content you are editing. Learn how to add additional languges to your site.
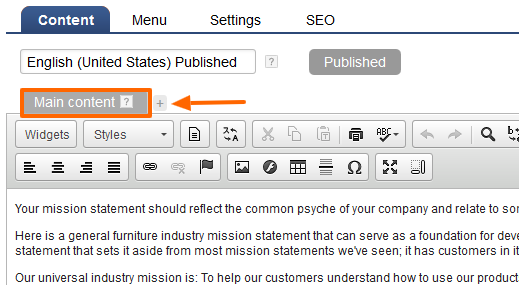
Main Content Tab
The gray tab above the editor is the default and main content for the page. The + icon to the right is to manage the optional content areas for the page as described in the next section.
Content Areas
Each page can have multiple content areas. Content areas allow for different blocks of content to be placed on different areas of the templates. For a content area work, a target must be created in the design first. Once this is done, the target content area name will appear in the list of content areas to choose from. To activate/deactivate a content area, click on the + sign to the right of the tab labeled "Main Content" and check the areas you wish to activate. Once activated you will see the tab next to the Main content tab.
Important Note: The core list of content areas is dynamically generated by reading all the target tags in the currently specified template for this page in Settings. If you activate a content area and then switch templates, the area will remain, but will be red if the target does not exist in the new template. Also there are cases where you may need to create a custom content area that will pull data from another module. If you create a custom content area it will always be red because it is not in the template as a target even though it may be fully functional.
Use Case: The design template has a left column with a vertical menu. The main content is in the middle of the page. You want to insert a client quote under the left menu on this page. The deisgner would create a target content area that would display the data you enter in the content area under the menu.
See Video
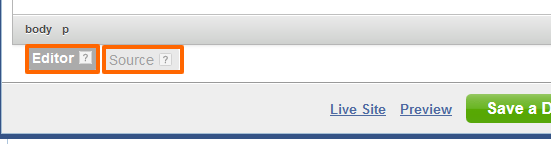
Editing Modes
There are two modes of editing your content, Edior and Source. Edior is WYSIWYG (What you see is what you get) and Souce is HTML source code. To change modes click on the two tabs on the bottom of the editor.
Editor
In this mode you are editing the content as it will be displayed in the template. The template specified in the Settings tab will influence the colors and styles of the content and text.
How to edit and create content using the WYSIWYG Editor
Source Mode
This mode allows you to access and edit the html of the cms page
Bottom Buttons

| Live Site | This link will open a new window that presents the current live site |
| Preview | This link will open a new window showing you your current unsaved edits in the site tempate for review |
| Save a Draft | This button will save the current changes as a saved version for permenant history. It will not influence the live site |
| Publish to Live | This button will take the contents of the editor and make it live |
| Close | This link will close the window |
Versions

Each time you "Save a Draft" or "Publish to Live" a new version is created. Each version can be restored by clicking the Open link for the version, this will place the content into the editor. Once restored if you want to make the version live, you must also click the Publish to Live button.
Auto Save: Every minute behind the scenes, the system is saving your changes so that if your computer crashes, or your internet connection stops working, you can recover your work up to the minute. Click on Auto Save and you will see any versions that we have saved. To restore, click on the Open link on the version row and the content will be inserted into the editor. Note: Once you click on Save a Draft or Publish to Live, all Auto Save verions are cleared out.
Please send us suggestions regarding this documentation page
If you would like to recommend improvements to this page, please leave a suggestion for the documentation team.